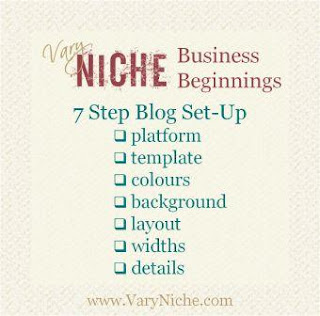
 Choice of Platform: First I had to decide where to put my blog. I played around with a few templates on Wordpress and Blogger before making my decision. I had more experience using Blogger and found I could more easily customize and change my blog template on Blogger.
Choice of Template: I chose a template that was as close to what I wanted as I could find and then customized it. It might have been better to chose a template based on how simple and straightforward its HTML/code is, but I don't know enough about HTML to recognize such a template.
Customizing the Template:
1. Colour ChoiceIt might seem a bit strange to start with color choice but most of the customization of blog templates is based on color. So for this I went to ColourLovers.com to make a Colour Palette. I chose a palette of colors I liked and named it Spring Blossoms. Once you create such a palette, you have easy access to the color codes for your colors. This allowed me to use the HEX or RGB code for each color to get the same color in my logo, my signature, my link text, etc.
The first thing on the list of customizable template components is the background so that's what I worked on next. Again, I used ColourLovers.com to create the background I wanted. I made my own background pattern as well as a secondary color palette to get the look I wanted for my background. I wanted it to look like blank canvas. On the right hand side of the ColourLovers site when a pattern is open, there is a section called "Share This Pattern". I used the tools there to get the right size to upload as the background image under the blogger template customization.

3. Layout Choice
Next I skipped down to layout options. I chose to have my blog posts run along the left hand side and my column of gadgets and links run along the right hand side. While I prefer this myself anyway, I also chose this layout for accessibility reasons. Screen readers generally read from left to right and top to bottom so if I want everyone to find my latest post easily, it is important to have my blog roll along the left side.
4. Adjust Widths
I chose my blog and column widths just based on aesthetics but importantly took note of the width of my right side column so I could size my pictures accordingly.
5. Details
Once I had completed my template customization, I put in some posts and looked around some more at other websites/blogs to see what else I wanted to add or change. I have played a bit with the template code over the last year, changed my colour palette often, and just made quite a few more changes.
If you like specific aspects and want more info on them or have design tips for me (I'm a watercolour/acrylic painter, not a web designer, after all), do, please, comment.


No comments:
Post a Comment